After surfing, start with gentle neck and shoulder rolls to release tension. Move into cross-body shoulder stretches, side bends, and triceps stretches to loosen your arms and shoulders. Incorporate Cat-Cow poses for spinal flexibility and shift into downward dog with a hip flexor stretch to target hips and legs. Finish with a seated forward fold and Child’s Pose for full relaxation. If you continue exploring, you’ll find ways to enhance your post-surf recovery even more.
Key Takeaways
- Start with gentle neck and shoulder rolls, focusing on controlled breathing to release tension after surfing.
- Incorporate cross-body shoulder stretches and side bends to target shoulders, obliques, and improve lateral flexibility.
- Use spinal moves like Cat-Cow pose to enhance spinal mobility and relieve tightness.
- Include hip flexor, quad, hamstring, and calf stretches to increase lower body flexibility and prevent stiffness.
- Finish with deep breathing or meditation to promote relaxation, mental clarity, and muscle recovery within 10 minutes.
Neck and Shoulder Roll Stretch
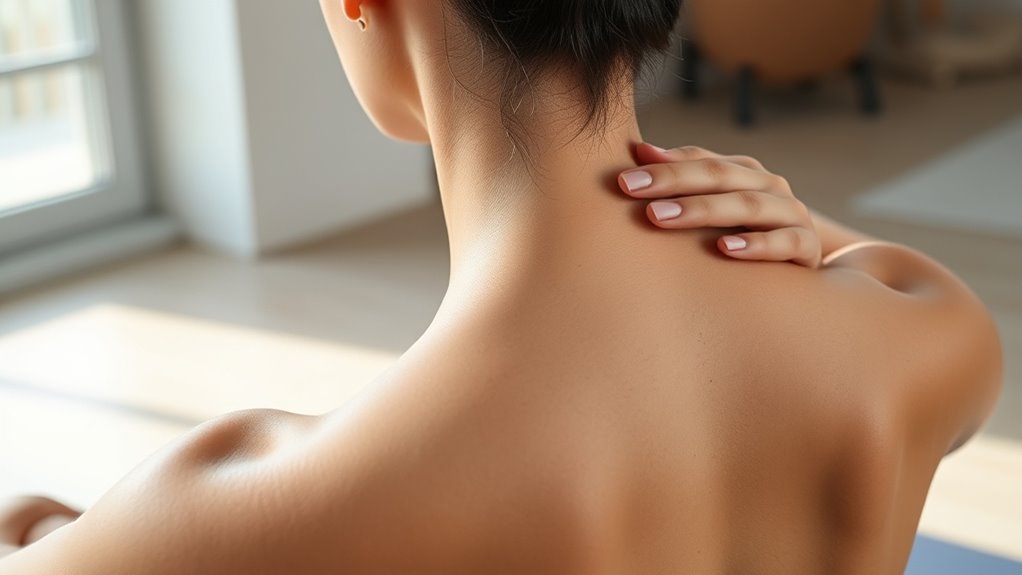
To begin your stretch routine, gently roll your neck and shoulders to release tension. As you move, focus on breath control; inhale deeply before each roll and exhale slowly to relax your muscles. This helps activate your muscles intentionally, preparing them for deeper stretches. Keep your movements smooth and controlled, avoiding any jerking motions. The goal is to loosen tightness in your neck and shoulders, which often carry surf-related strain. By consciously coordinating your breath with your movements, you enhance muscle activation and promote relaxation. Incorporating vetted product reviews can help you choose the best gear for post-surf recovery. This simple, yet effective, warm-up sets the stage for the rest of your post-surf stretch, easing residual tension and improving flexibility. Regularly practicing this helps prevent stiffness and ensures your muscles stay healthy after your surf session. Additionally, monitoring your production quantities can help identify areas where tension may be build-up due to overexertion. To optimize your recovery, consider practicing home therapy techniques that can further relax tight muscles and improve circulation.
Cross-Body Shoulder Stretch
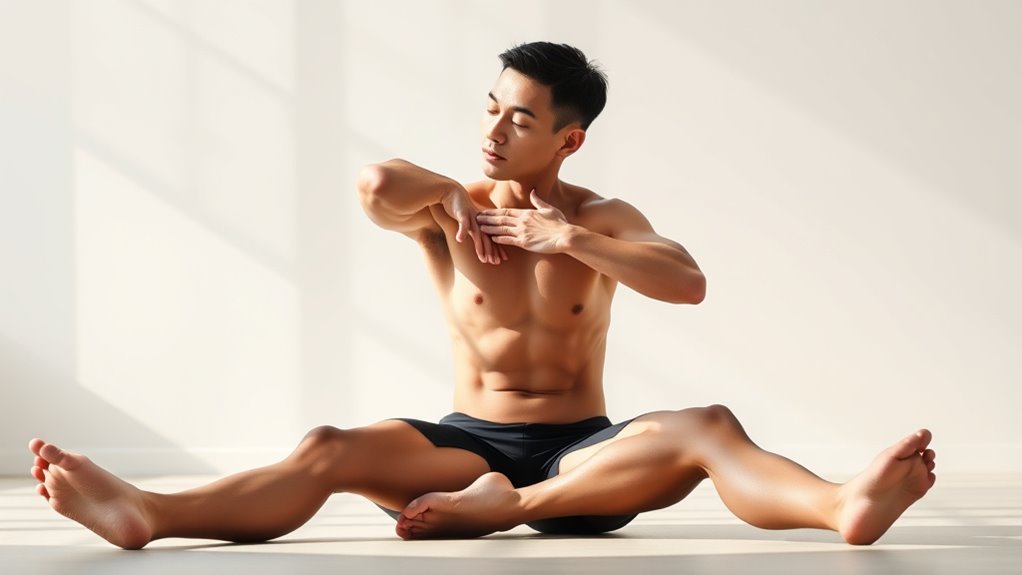
When performing the Cross-Body Shoulder Stretch, make certain your arm is properly positioned across your chest to target the shoulder muscles effectively. Use controlled movements to avoid overstretching, which can cause discomfort or injury. Keep your stretch gentle and listen to your body to get the best benefits without strain. Incorporating proper technique can also prevent muscle strain and enhance your overall flexibility. Additionally, understanding advanced techniques can help you refine your stretching routine for better results.
Proper Arm Positioning
Proper arm positioning is essential for an effective cross-body shoulder stretch. To begin, ensure your arm is aligned properly across your chest, with your shoulder relaxed. Keep your elbow straight or slightly bent, depending on your comfort level. Hand positioning is key; gently grasp your upper arm or forearm with your opposite hand, avoiding excessive pressure. This helps maintain proper arm alignment and prevents strain. Make sure your shoulders stay down and relaxed throughout the stretch, avoiding shrugging or tensing. Focus on keeping your wrist and hand in a natural, comfortable position. Maintaining correct arm positioning ensures you target the shoulder muscles effectively while minimizing risk of injury. Remember, precision in your arm alignment and hand placement enhances the stretch’s benefits. Additionally, paying attention to your protective styling benefits can help prevent unnecessary tension or discomfort during stretching routines. Being aware of store hours for local beauty retailers can be helpful if you need to pick up supplies before your workout or stretch session. Incorporating these tips and understanding the anatomy of shoulder muscles can further improve your stretching effectiveness and safety.
Controlled Stretch Technique
Focus on controlling the stretch to maximize its benefits and prevent overstretching. Use steady breath control to help you stay relaxed and aware of your muscles. As you gently pull your arm across your chest, engage your shoulder muscles slightly to activate them without forcing the movement. This muscle activation helps you maintain proper form and prevents overstretching or injury. Breathe deeply and evenly throughout the stretch, ensuring your muscles stay relaxed but engaged. Avoid bouncing or jerking your arm; instead, hold the stretch steadily, feeling the gentle tension in your shoulder and upper back. Controlled breathing combined with mindful muscle activation ensures you deepen the stretch safely and effectively, promoting flexibility without risking overstretching or strain. Monitoring your muscle engagement can also help prevent overstretching and ensure safe technique. Incorporating proper stretching techniques can further enhance your flexibility while minimizing injury risks, especially when you maintain awareness of your body mechanics during each movement. Additionally, paying attention to air quality indicators can help you optimize your environment for better breathing and recovery during your routine.
Avoiding Overstretching
To prevent overstretching during the cross-body shoulder stretch, it’s essential to listen to your body and recognize your limits. Focus on your breathing techniques to stay relaxed, which helps avoid unnecessary tension. Remember, mental relaxation plays a key role in preventing overstretching. Here are four tips:
- Start slow and ease into the stretch, avoiding any pain or sharp discomfort.
- Maintain steady, deep breaths to keep your muscles relaxed.
- Stop immediately if you feel any strain or tingling sensations.
- Use mental relaxation techniques like visualization to stay calm and focused. Proper technique is crucial for safe stretching and preventing injury. Incorporating mindfulness practices can further enhance your awareness of body signals and improve your overall flexibility. Being aware of data privacy challenges can also help you stay attentive to your body’s responses and avoid overexertion. Additionally, understanding the importance of emotional support can help you stay motivated and focused on your stretching routine.
Triceps and Side Stretch
Targeted triceps stretches help release tension after surfing, improving your arm mobility. Incorporating side stretches enhances lateral flexibility, making your body more balanced. Be sure to use proper technique to get the most benefit and avoid strain. Diversify investments can also contribute to a more resilient fitness routine by reducing over-reliance on a single approach. Celebrity transformations can provide inspiring examples of physical changes that motivate your own fitness routines. Using appropriate equipment like a vacuum cleaner can help maintain a clean and healthy environment that supports your active lifestyle. Recognizing the importance of Twin Flame vs Soul Tie dynamics can deepen your understanding of emotional and spiritual well-being.
Targeted Triceps Stretch
The targeted triceps stretch is an effective way to loosen up your upper arms and shoulders after a surf session. It also promotes wrist mobility and forearm release, helping you recover faster. To get started:
- Reach one arm overhead, bend your elbow, and gently pull your elbow with your opposite hand.
- Hold for 20 seconds, feeling the stretch along your triceps and side torso.
- Switch arms, then extend your arm out to the side and gently lean into a side stretch.
- Breathe deeply, focusing on relaxing your forearms and releasing tension.
- Incorporating gentle stretching routines like this can also support overall muscle flexibility and prevent injuries.
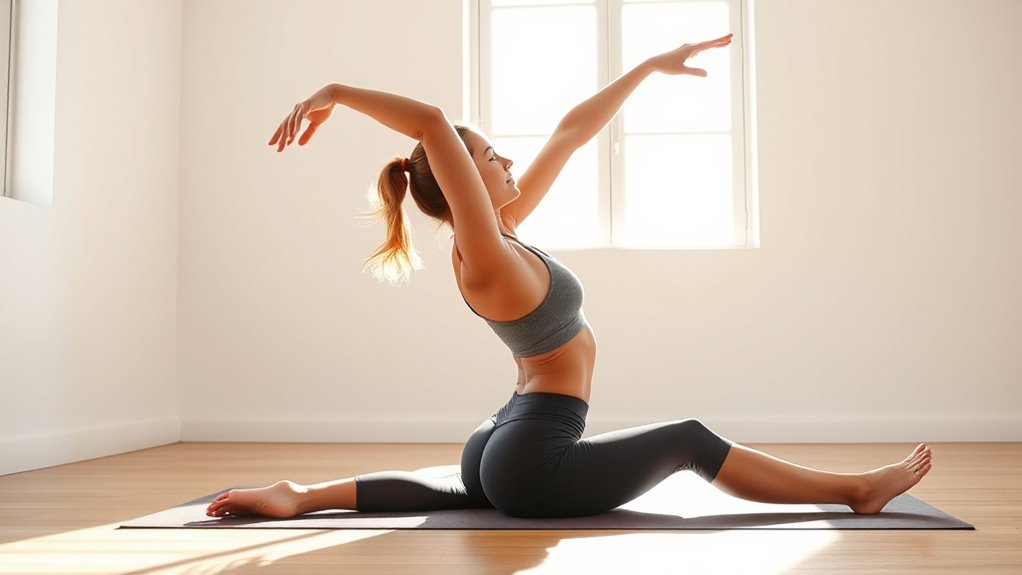
Enhance Lateral Flexibility
Enhancing lateral flexibility with side stretches helps improve your overall mobility and reduces the risk of injury after surfing. These stretches target your obliques and side body, promoting better trunk rotation and balance. As you stretch, focus on wrist flexibility and forearm stretches to prevent strain from paddling or gripping your board. Incorporate the following table to deepen your understanding:
| Stretch Type | Target Area | Benefits |
|---|---|---|
| Triceps Side Stretch | Triceps and obliques | Increases lateral flexibility, reduces tightness |
| Wrist and Forearm Stretch | Wrists and forearms | Enhances wrist flexibility, prevents strain |
| Seated Side Bend | Obliques | Improves side body mobility |
| Overhead Lateral Reach | Shoulders and side | Boosts overall lateral stretch |
These targeted moves help keep your body agile, ready for quick movements on the waves.
Proper Technique Tips
To get the most benefit from your side stretches, it’s important to focus on proper technique. First, keep your wrist joint relaxed to avoid strain—don’t force your hand or bend it unnaturally. Second, always maintain eye protection by avoiding overstretching upward or sideways that could cause discomfort or injury. Third, engage your core to stabilize your body and support your stretch. Fourth, move slowly and deliberately, ensuring your movements are controlled and comfortable. Remember, a gentle stretch is more effective than forcing yourself into position. Proper technique minimizes risk and maximizes flexibility gains, so listen to your body and stop if you experience pain or discomfort. Consistency and mindful execution are key to safe, effective stretching.
Cat-Cow Pose for Spinal Flexibility
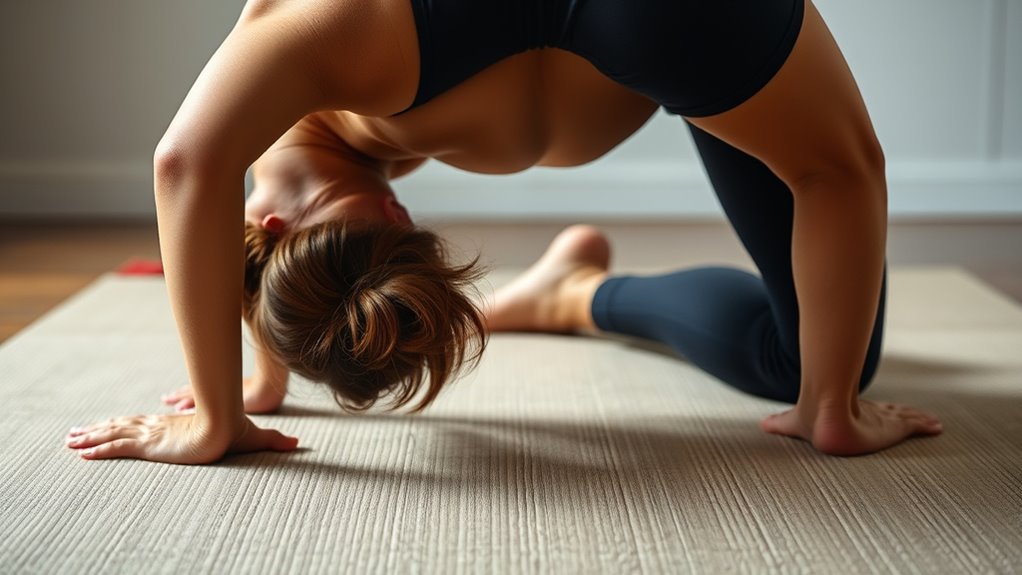
If you want to improve your spinal flexibility, incorporating the Cat-Cow pose into your routine is a smart move. This pose actively enhances your spinal mobility by gently stretching and strengthening your back muscles. As you move through the pose, you’ll notice how it encourages proper posture improvement, helping you align your spine more effectively. To do it, start on your hands and knees, inhale to lift your tailbone and head into Cow pose, then exhale to round your back, tucking your chin into your chest for Cat pose. Repeat smoothly, focusing on your breath and spinal movement. This simple stretch helps loosen tight muscles, increases flexibility, and promotes better posture, making it an essential addition to your post-surf routine.
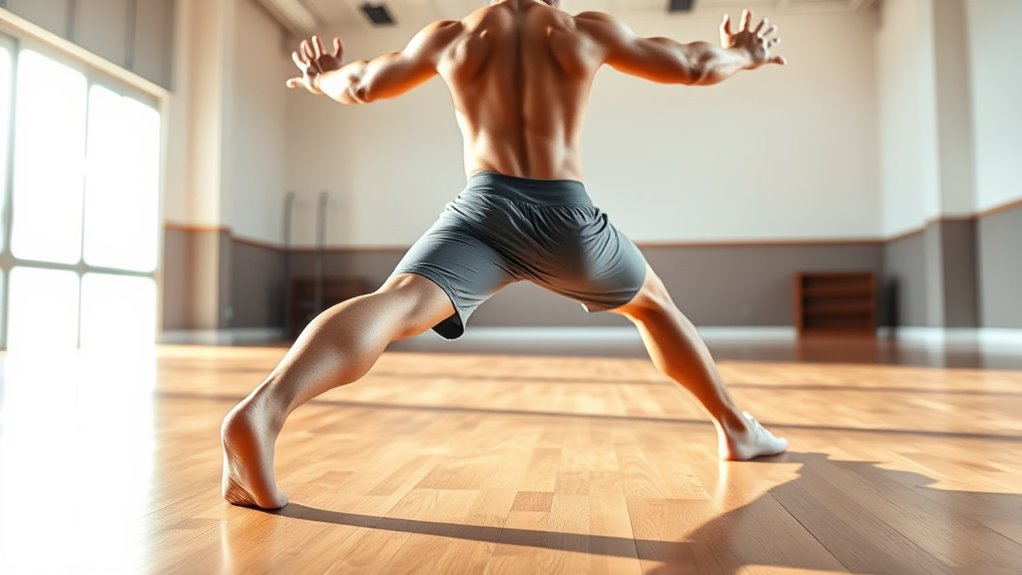
Downward Dog to Hip Flexor Stretch

Moving smoothly from Downward Dog into a Hip Flexor Stretch can deepen your post-surf recovery. To do this effectively, follow these steps:
- Shift into a low lunge, keeping your back leg straight and your hips square.
- Engage your core to stabilize your pelvis and prevent overarching your lower back.
- Gently push your hips forward to deepen the hip flexor release without strain.
- Maintain steady breathing, focusing on releasing tension in your hip and hamstring.
This progression not only enhances flexibility but also strengthens your core and promotes better posture. Remember, controlled movements and mindful engagement are key to maximizing benefits. Incorporate this flow into your routine to feel more open and relaxed after your surf session.
Quad Stretch
The quad stretch helps improve flexibility and reduce muscle tightness after surfing. To get the most benefits, it’s important to use proper technique, like keeping your knees close and avoiding overextending. Let’s explore how to perform this stretch correctly and why it’s so beneficial.
Quad Stretch Benefits
Performing a quad stretch offers several key benefits that can enhance your post-surf recovery. First, it helps improve your balance training by stabilizing your lower body, making you more confident on your board. Second, it promotes core activation, engaging your abdominal muscles to support proper posture. Third, it relieves muscle tension in your quadriceps, reducing soreness and stiffness. Fourth, it increases flexibility, which can prevent injuries and boost your surfing performance. By regularly incorporating this stretch, you support overall muscle health and develop better control during your rides. These benefits not only enhance your surfing skills but also contribute to quicker recovery after a long session in the water. Keep stretching to enjoy a stronger, more balanced, and injury-resistant body.
Proper Technique Tips
To get the most benefit from your quad stretch, focus on maintaining proper technique throughout. Keep your knees close together and gently pull your ankle towards your glutes, avoiding any twisting of your hips. Use controlled breathing techniques—inhale deeply to prepare, then exhale as you deepen the stretch. Remember, stretch duration matters; hold each stretch for at least 20-30 seconds to allow your muscles to relax fully. Avoid bouncing or forcing the stretch, as this can cause injury. Keep your core engaged to stabilize your body, and ensure your knees stay aligned. Consistent, mindful breathing and a steady stretch duration help maximize flexibility gains while preventing strain. Proper technique ensures you get the most out of your quad stretch safely.
Hamstring Stretch
If tight hamstrings are holding you back after surfing, incorporating a simple hamstring stretch into your routine can make a real difference. It enhances hip mobility and reduces strain on your lower back. To get the most out of this stretch, try these steps:
- Sit on the ground with one leg extended and the other bent, foot against your inner thigh.
- Reach forward toward your toes, keeping your back straight and engaging wrist extension for better control.
- Hold for 20-30 seconds, feeling the stretch along your hamstring.
- Switch legs and repeat, maintaining relaxed hips and steady breathing.
This routine helps loosen tight muscles, improves flexibility, and prepares your body for the next surf session.
Calf Stretch Against Wall

After loosening up your hamstrings, it’s a great idea to focus on your calves to enhance overall lower leg flexibility. To do this, stand facing a wall and place your hands on it for support. Step one foot back, keeping it straight and pressing your heel into the ground. Lean into the wall until you feel a stretch in your calf. This stretch improves ankle mobility, which benefits your surf stability and maneuverability. Be mindful of wrist flexibility, ensuring your hands remain supportive without strain. Switch sides and repeat. Hold each stretch for about 30 seconds. This simple routine helps loosen tight calves, enhances ankle movement, and contributes to better balance and control during your surf sessions.
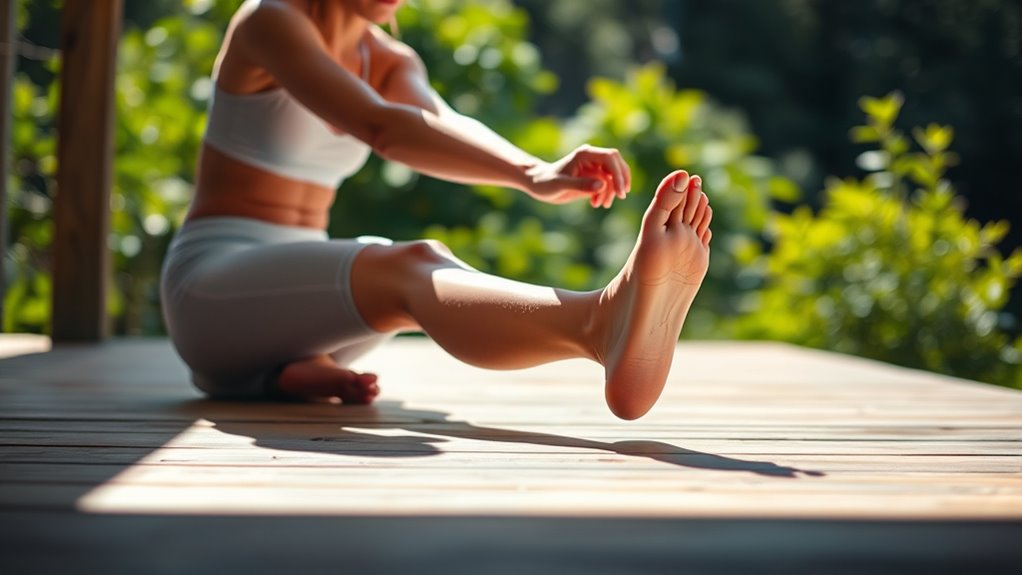
Seated Forward Fold

The Seated Forward Fold is an effective stretch that targets your hamstrings, calves, and lower back. To maximize benefits, follow these steps:
- Sit with your legs extended and hinge at your hips, reaching forward.
- Use breathing techniques—inhale deeply, then exhale as you gently deepen the stretch.
- Focus on meditation practices by maintaining a calm, mindful breath to stay present.
- Hold the position for 20-30 seconds, feeling the release in tension.
This stretch helps improve flexibility and promotes relaxation after surfing. Incorporating mindful breathing keeps you centered and enhances the stretch’s calming effects. Remember to avoid bouncing and listen to your body, easing into the stretch without forcing it.
Child’s Pose for Relaxation
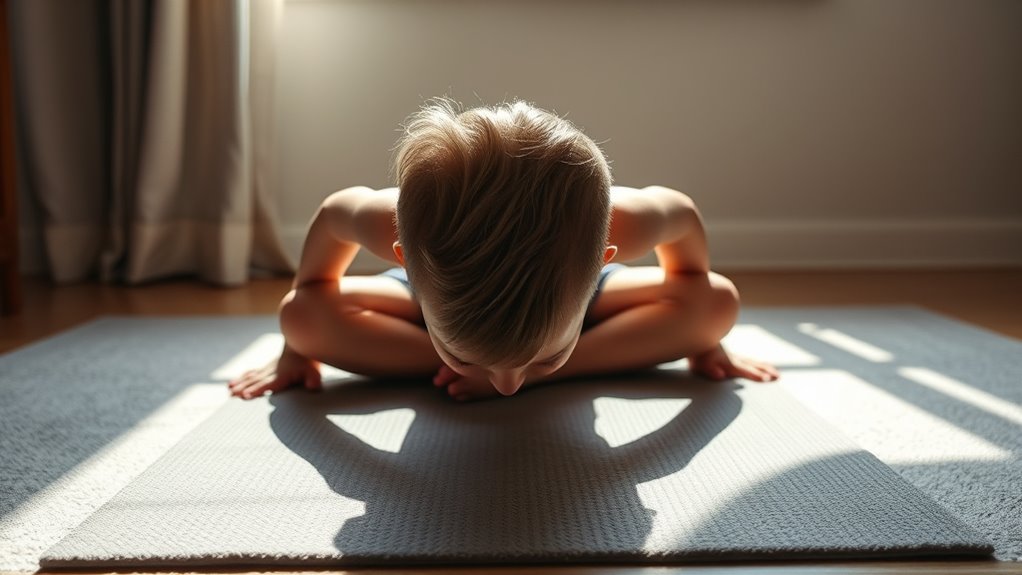
Child’s Pose offers a gentle yet effective way to relax your body and calm your mind after a surf session. This classic relaxation technique helps release tension in your back, shoulders, and hips, making it ideal for recovery. To deepen your experience, consider these key aspects:
| Aspect | Benefit | Tips |
|---|---|---|
| Comfort | Eases muscle tension | Use a folded blanket under knees |
| Breathing | Enhances relaxation | Breathe deeply through nose |
| Duration | Maximizes calming effect | Hold for 1-3 minutes |
| Focus | Clears mental clutter | Focus on slow, steady breaths |
| Variations | Adds variety, targets areas | Extend arms forward or back |
Incorporate child’s pose into your post-surf relaxation techniques for an effective, calming finish.
Frequently Asked Questions
Can This Routine Be Done Anywhere Without Special Equipment?
Yes, you can do portable stretches and equipment-free exercises anywhere. This routine requires no special gear, making it perfect for fitting into your busy schedule or traveling. You just need a little space to move comfortably. Whether you’re at home, in the park, or on the beach, these stretches are easy to perform and help you relax and recover after surfing or any other activity.
How Often Should I Perform This Stretching Routine Daily?
Oh, because you definitely want to stretch only once a week, right? Actually, performing this routine daily boosts your flexibility improvement and helps prevent injuries. Consistency is key—doing it every day keeps your muscles limber and ready, especially after surfing. So, make it a daily habit; your body will thank you with better performance and fewer setbacks. Don’t wait for pain to start stretching—start now!
Are There Any Age Restrictions for These Stretches?
When it comes to age considerations and stretch safety, there’s generally no strict age limit for performing stretching routines like post-surf stretches. However, you should listen to your body and modify stretches if needed. If you’re younger or older, avoid pushing into pain or extreme discomfort. Always consult a healthcare professional if you have pre-existing conditions or concerns, ensuring that your stretching routine remains safe and effective for your age.
Can This Routine Help Alleviate Chronic Back Pain?
Imagine you’re a knight seeking to conquer back pain—this routine could be your sword. It helps improve core stability, which supports your spine, and promotes posture correction, easing chronic pain. While it’s simple and quick, consistency is key. With regular practice, you can strengthen your back muscles and reduce discomfort. Just remember, if pain persists, consult a healthcare professional to ensure these stretches are suitable for you.
How Long Should I Hold Each Stretch for Optimal Benefits?
For ideal benefits, you should aim to hold each stretch for about 15-30 seconds. This holding duration allows your muscles to relax and elongate effectively, helping improve flexibility and reduce tension. Focus on maintaining steady, deep breaths during each stretch. The optimal timing varies depending on your flexibility level, but consistency is key. Make sure to listen to your body and avoid overstretching to prevent injury.
Conclusion
As you finish this quick routine, picture your muscles unwinding like gentle waves lapping the shore. Feel your body breathe easier, each stretch releasing tension like sunlight warming your skin. With just ten minutes, you’ve created space in your shoulders, spine, and legs—like opening windows to fresh air. Keep this calming flow in your daily life, and watch as your body becomes a serene, flexible sanctuary, ready to ride whatever waves come next.